

Introduction
To assist the player to choose whether to attack or defend when attaining the T the player needs to zone the court into defensive and attacking zones.
However, there are always the in-between scenarios….. the grey areas. That is, making decisions whether to defend or attack can be extremely difficult. Thus, the author created the G Zones; G1, G2, G3 and G4.
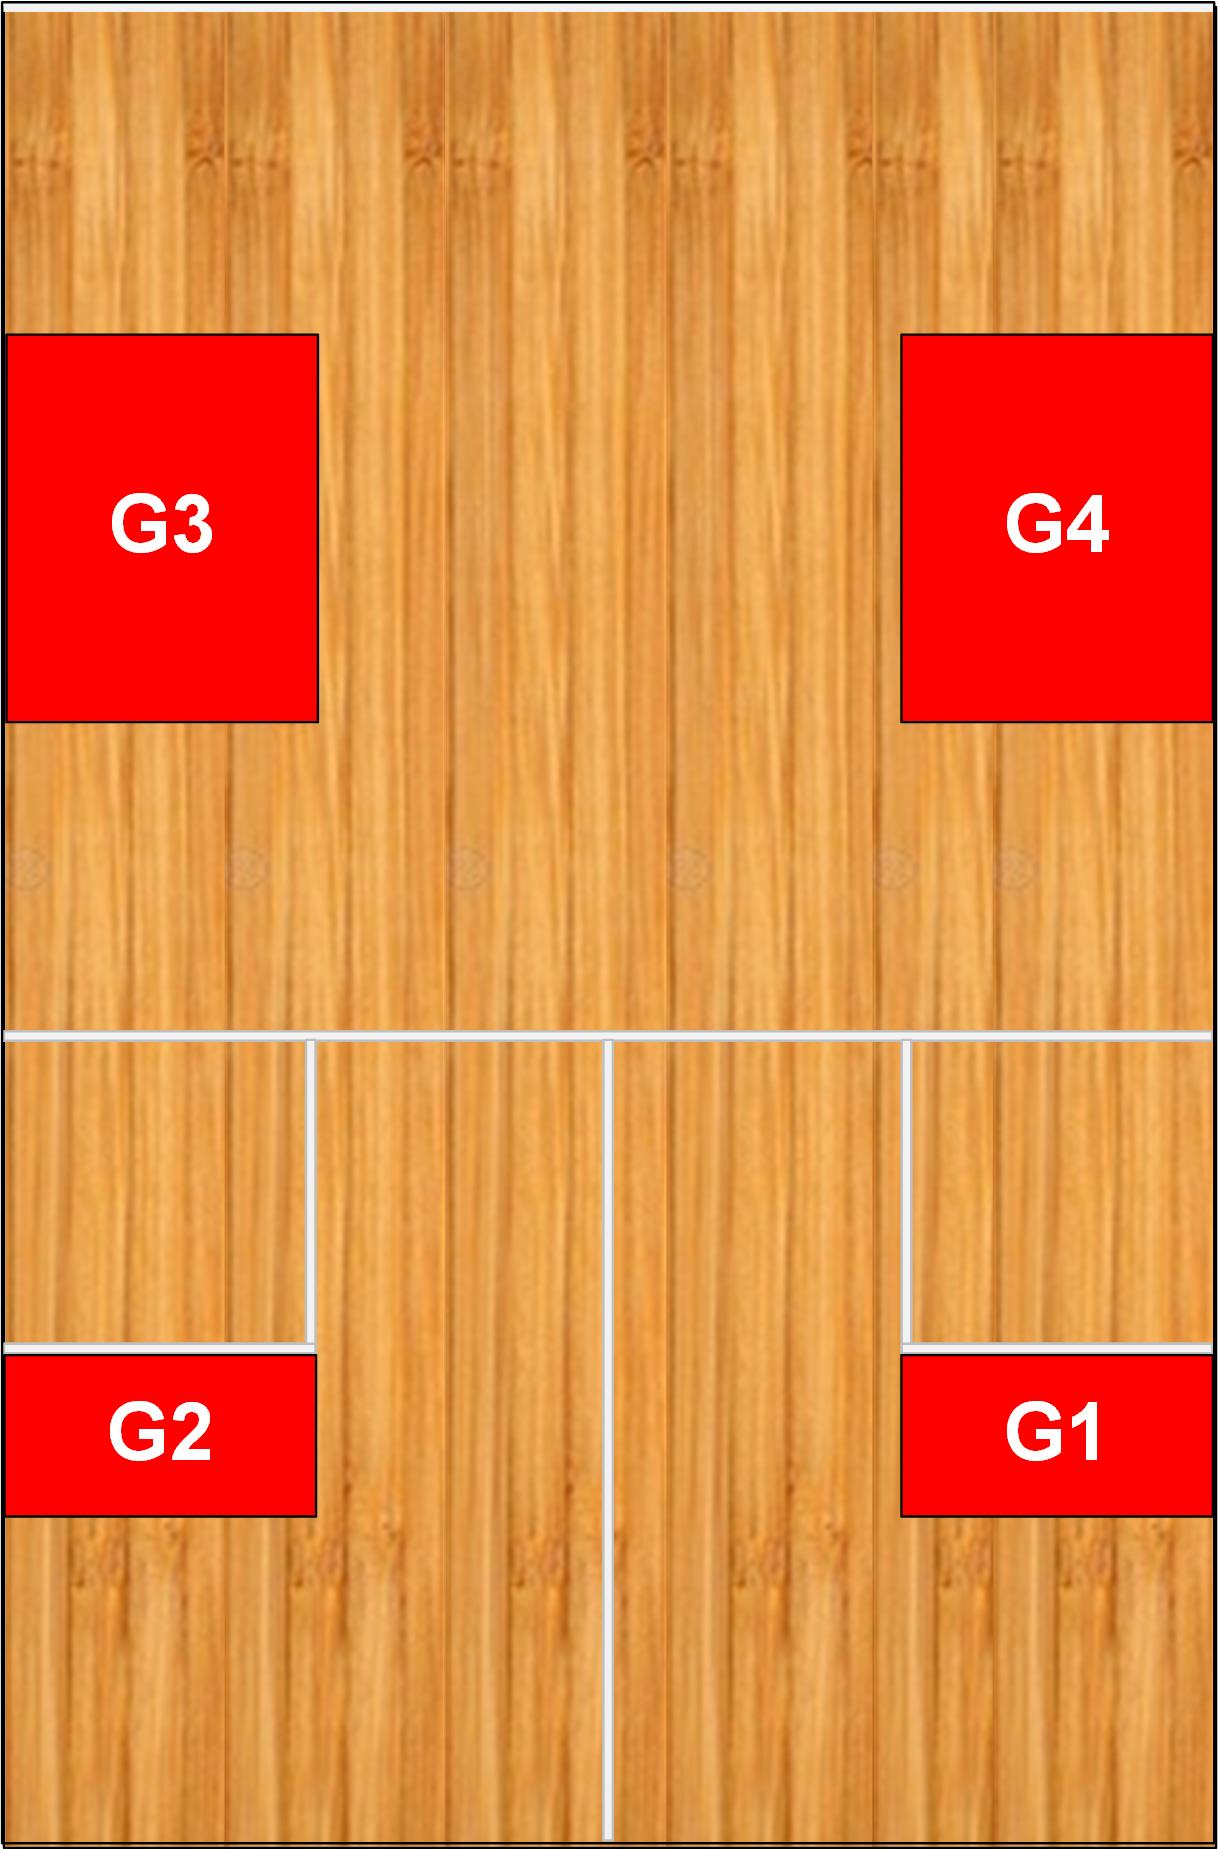
The Grey Zones - G1, G2, G3 and G4.
The player must zone the court into Grey Zones.
The video below does not focus on the correct T positioning.
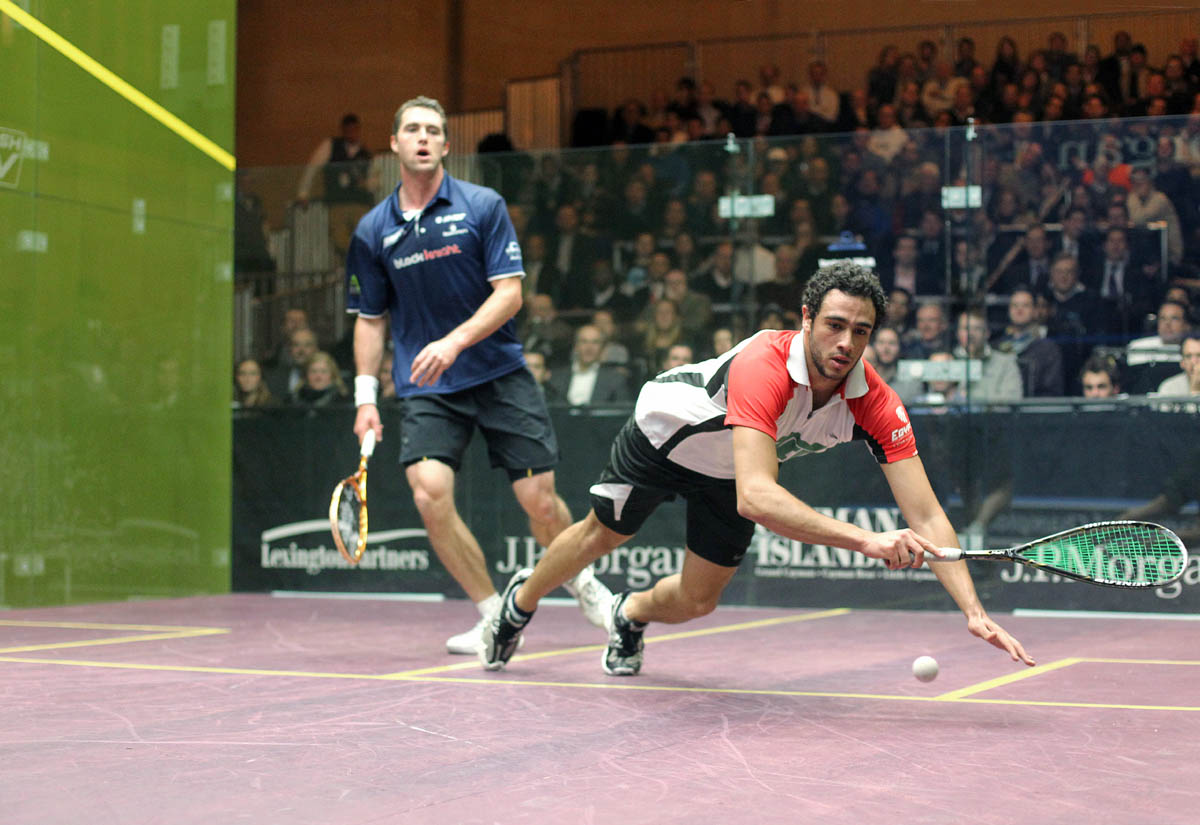
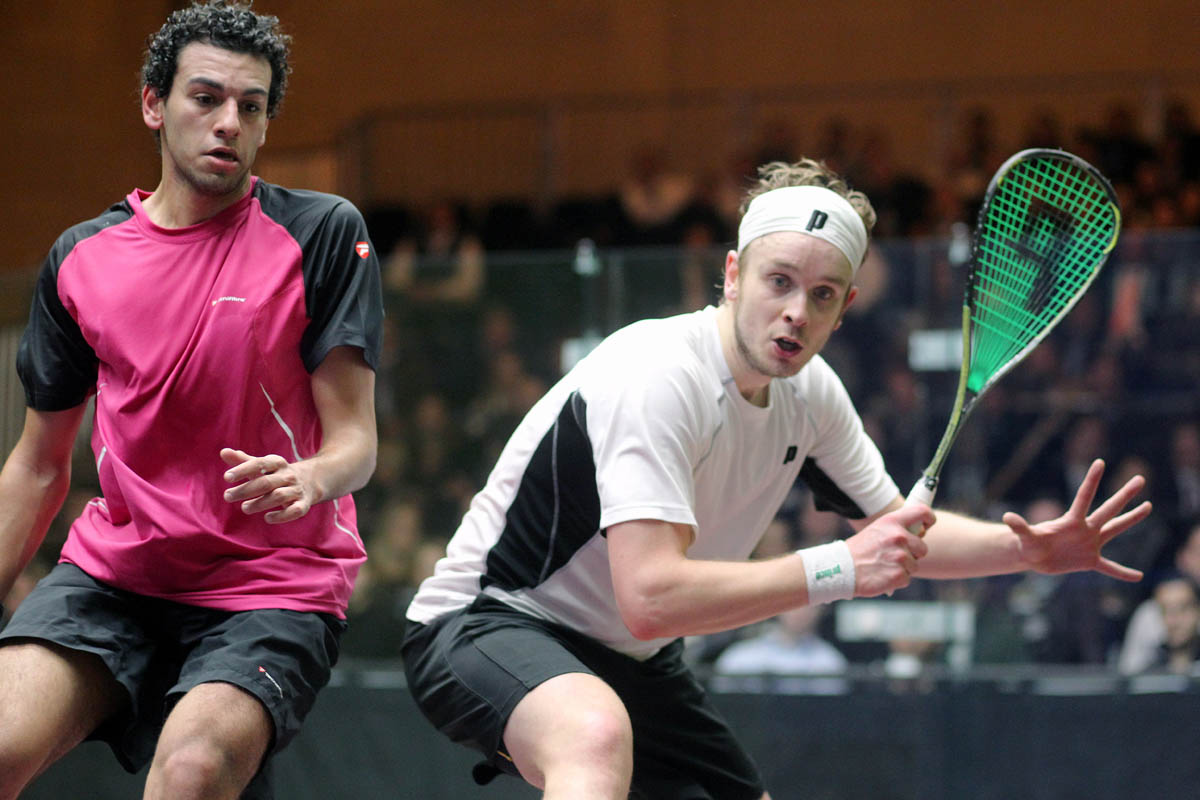
The G1, G2, G3 and G4 Zones are Grey Areas because of the player's proximity in relation to the T and because the player is blind to the opponent.
Often, the player is reasonably close to The T
After further examination the author decided to apply the same conditions that apply to the D1, D2, D3, D4 and D5Zones. That is, the author reluctantly decided to favour defence rather than attack. That is, the G1, G2, G3 and G4 Zones are now Extensions of the D1, D2, D3 and D4 Zones, respectively.
Extension of Defensive Zones - D1-G1, D2-G2, D3-G3 and D4-G4.
The player must zone the court into Extension of Defensive Zones.
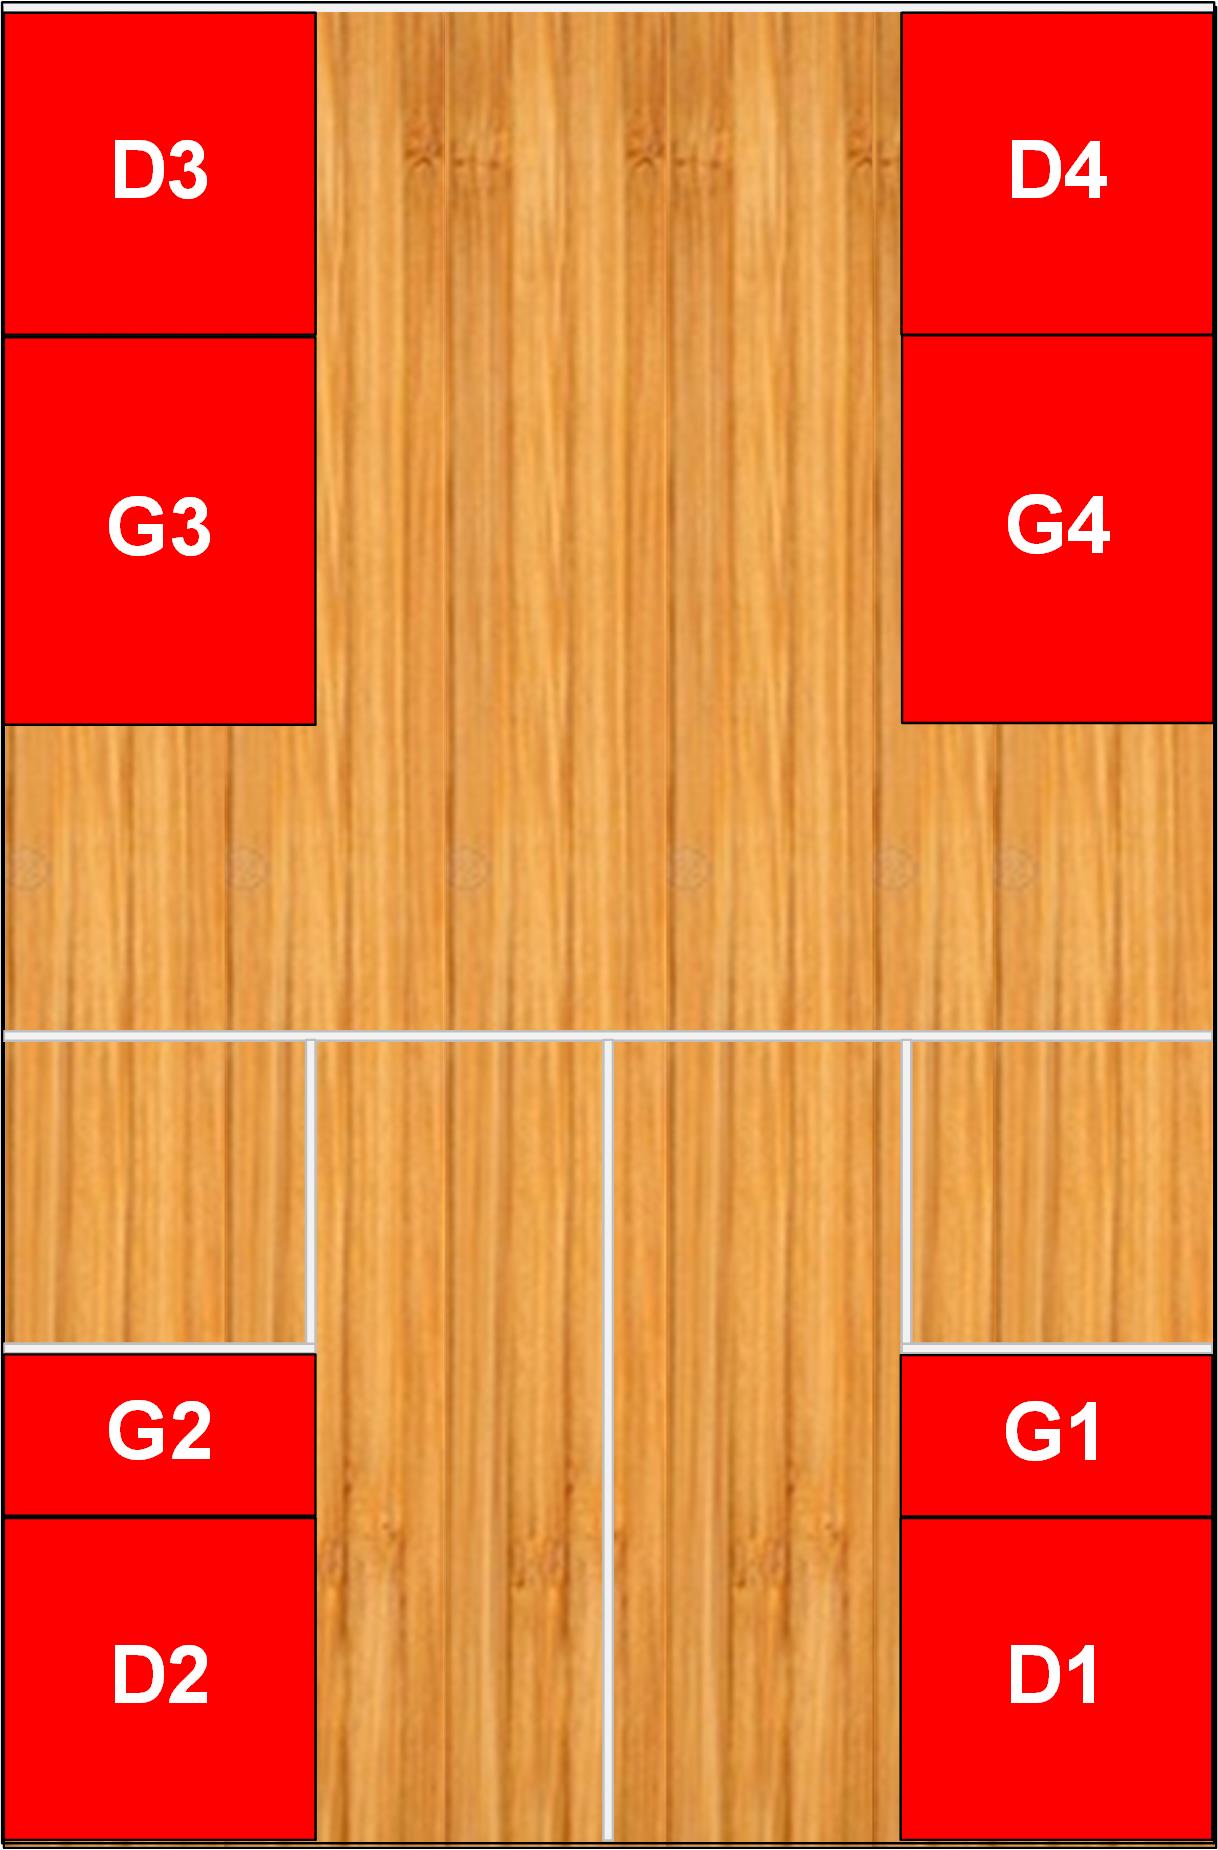
The G1, G2, G3 and G4 Zones are now Extensions of the D1, D2, D3 and D4 Zones, respectively.
The video below does focus on the correct T positioning. However, the player does not always attain it.
Examination of the Extensions of the D1, D2, D3 and D4 Zones.
Hitting the ball high and slow creates time to attain The T
The G1, G2, G3 and G4 now become Extended D1, D2, D3 and D4 Zones.
Extended Defensive Zones - Extended D1, Extended D2, Extended D3 and Extended D4.
The player must zone the court into Extended Defensive Zones and apply the same rationales as the D, D2, D3 and D4 Zones. The ED1, ED2, ED3 and ED4.
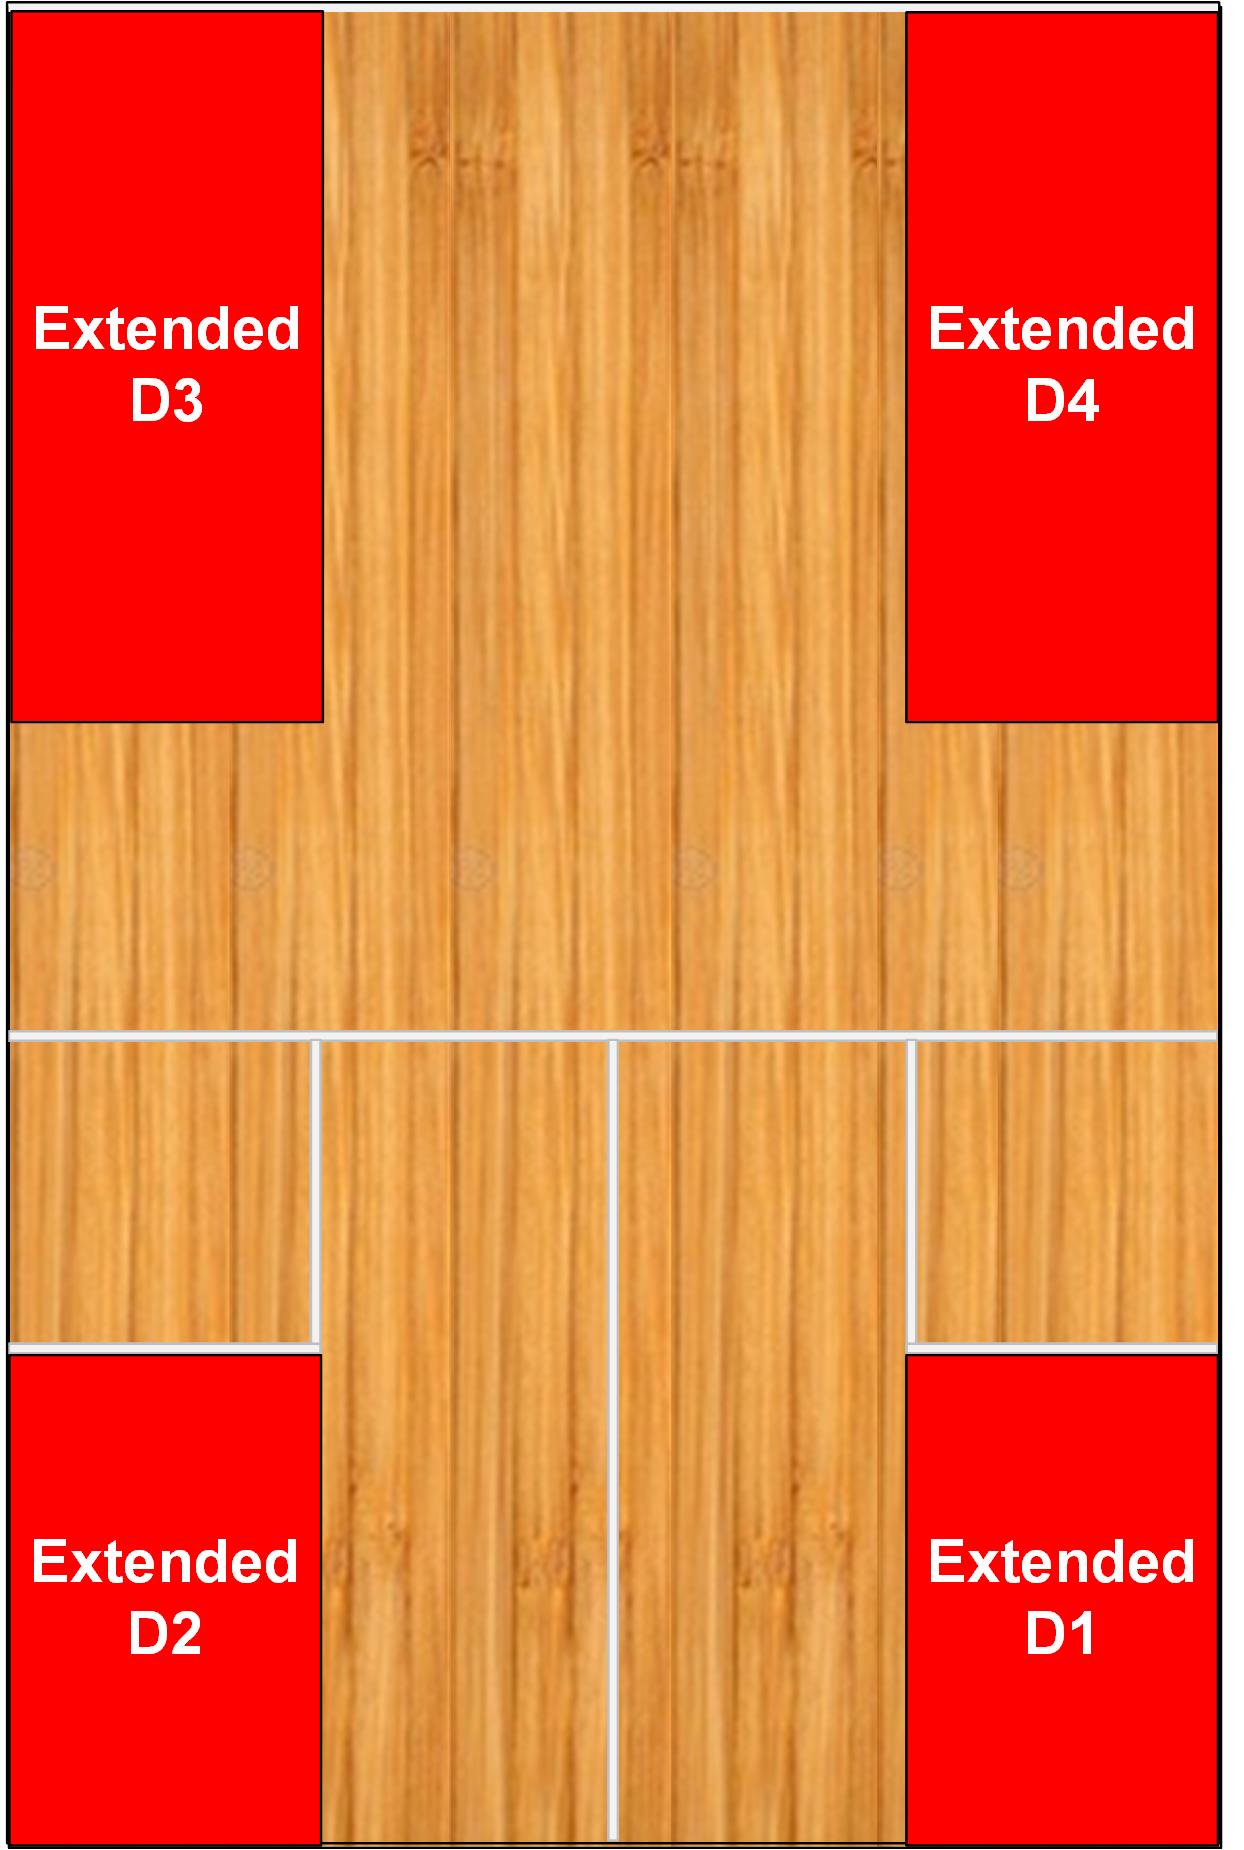
The Extended Defensive Zones are Defensive Zones because of their proximity in relation to the T even though four boundaries are also boundaries for the Attacking Zone.
Examination of the Extended Defensive Zones the ED1, ED2, ED3 and ED4 Zones.
Hitting the ball high and slow creates time to attain the correct T positioning
Copyright South Australia Squash Academy Michael Nash All Rights Reserved